Docs/Using the builder/HUD editor
HUD editor — tour & workflow
Build your in-game interface visually: the three panes, adding and arranging widgets, layers, and the canvas tools (grid, safe area, device frames, screenshot underlay).
Last updated 2026-06-12
The three panes
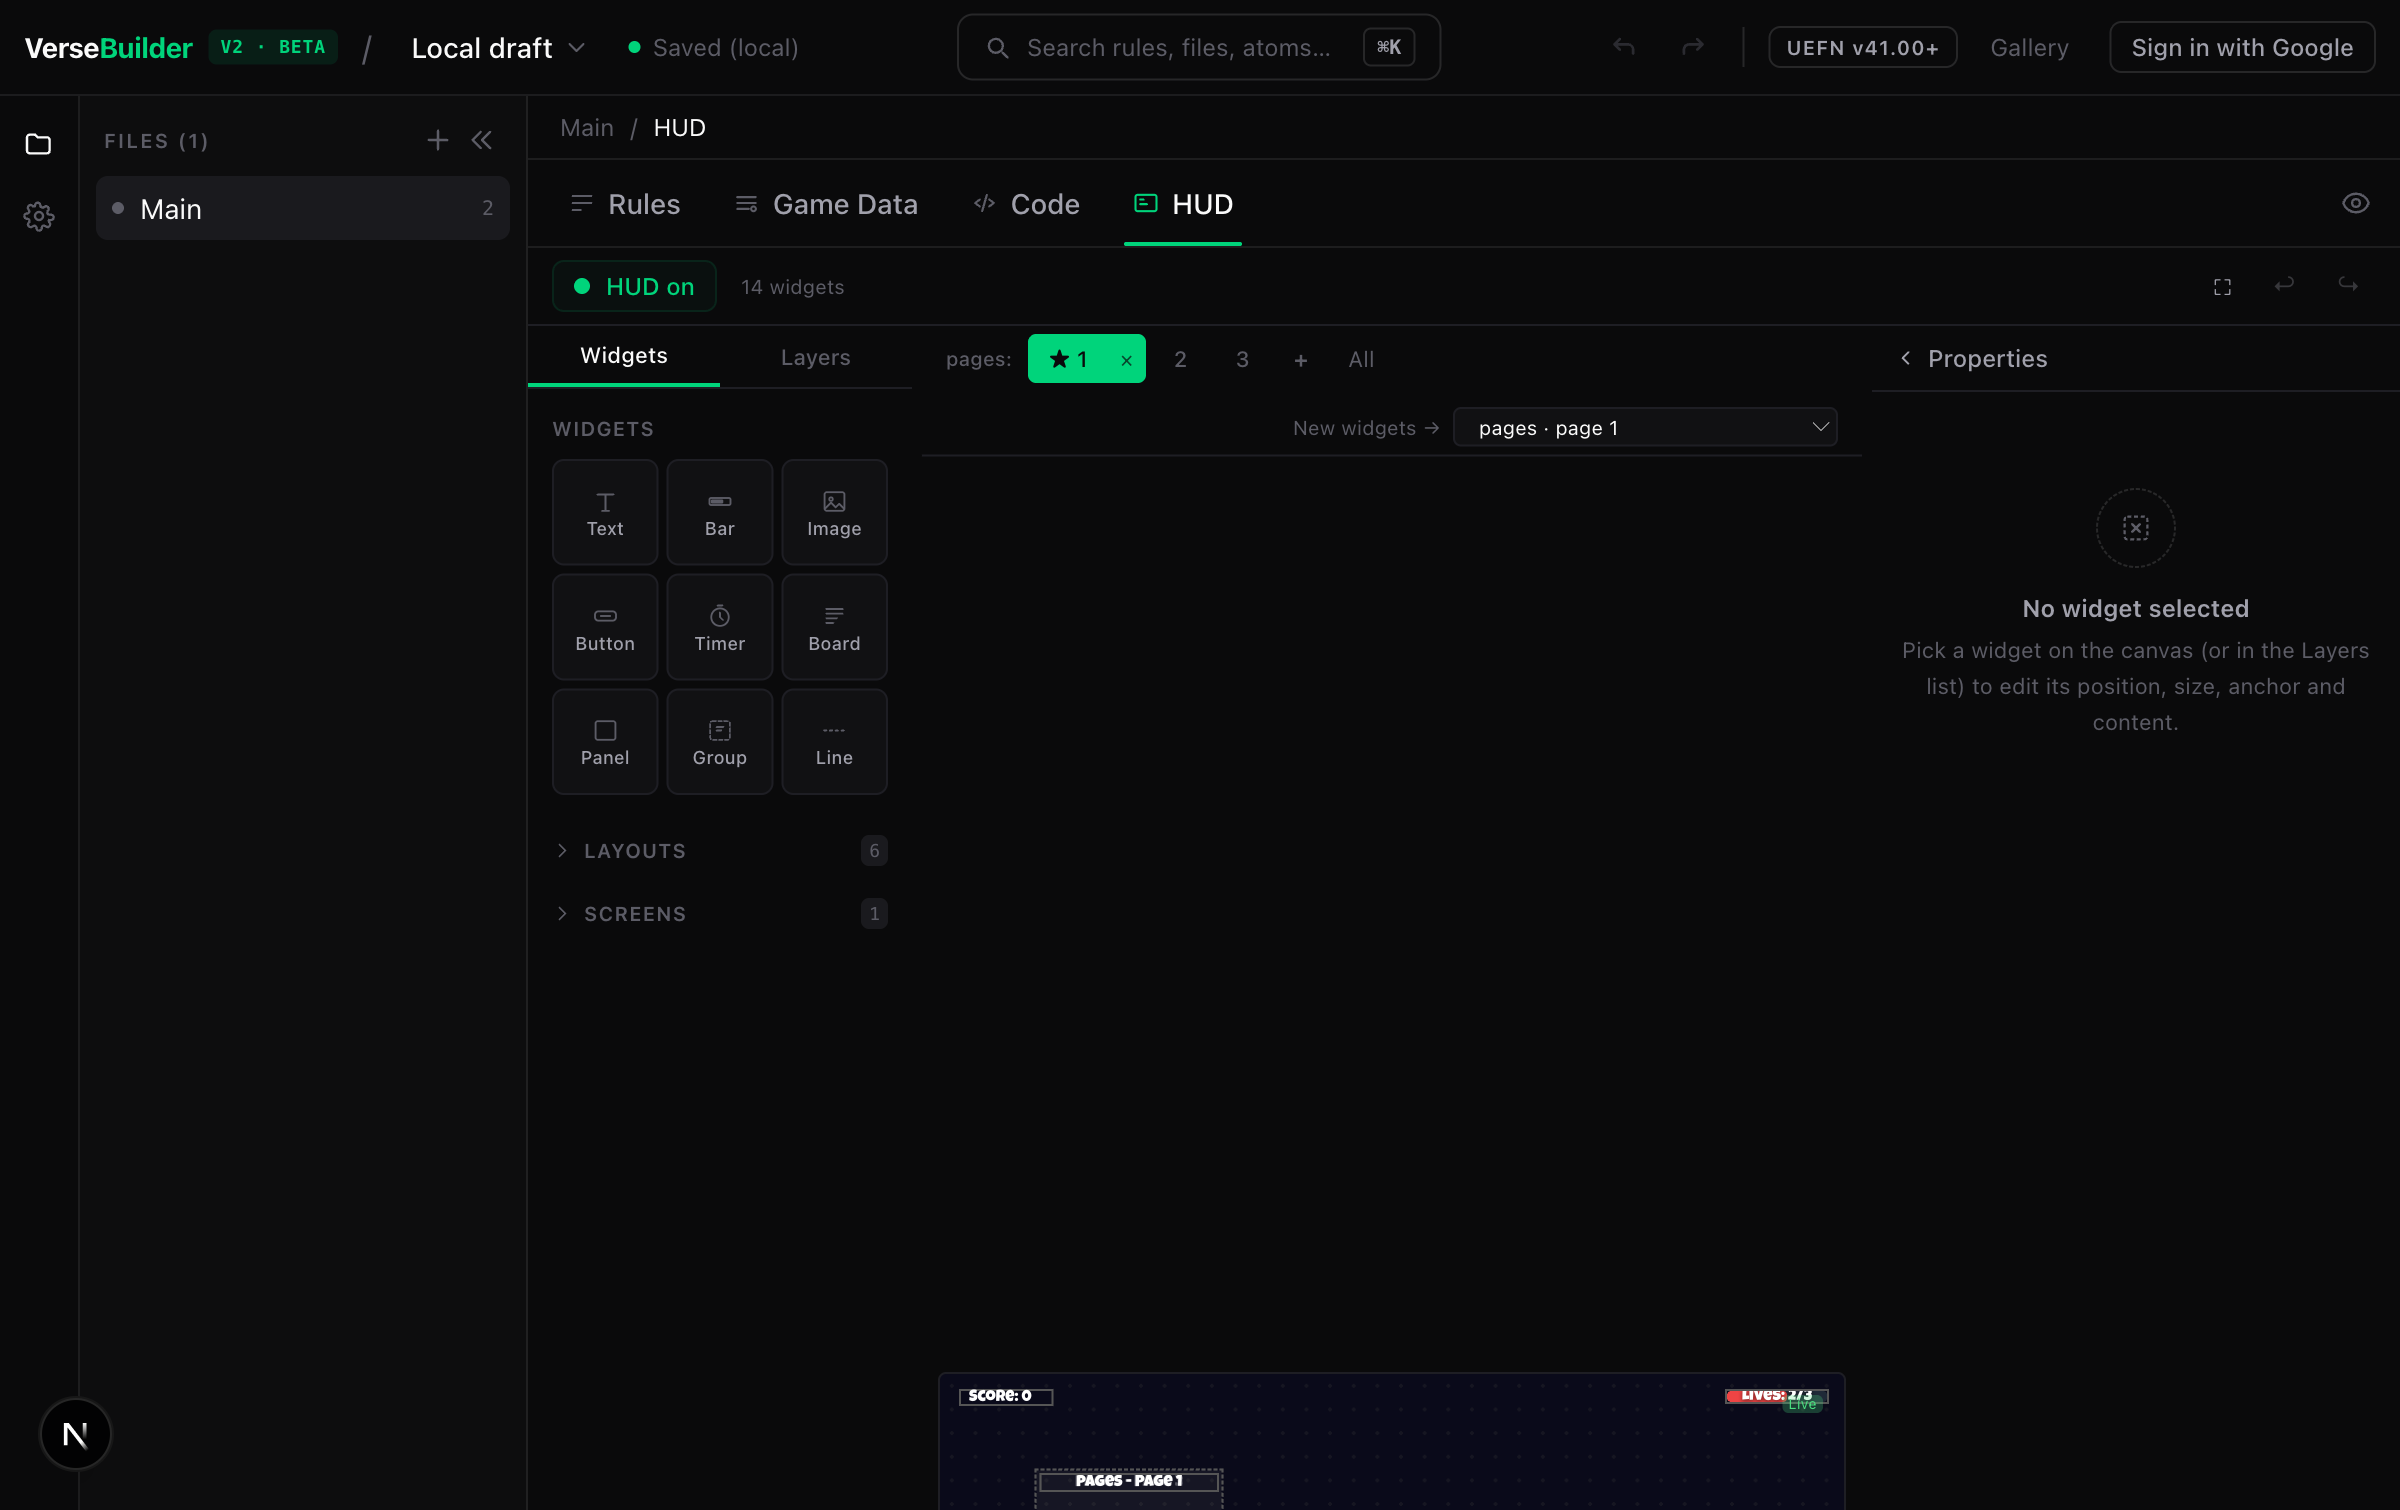
- Left — palette. Widgets (the 9 building blocks), Layouts (pre-arranged starting points like Top Bar or Center Modal), Screens (the multi-page system), and the Layers tab.
- Center — canvas. A 1920×1080 stage. Those are reference units, not pixels — the engine scales your layout to every screen (see Your HUD on every screen).
- Right — Properties. Everything about the selected widget, ordered by intention: Content first, then Style, Layout, Behavior. Each section collapses and remembers its state.
Adding widgets
Click a widget tile in the palette
The widget lands on the canvas, selected, ready to tune.Check where it landed
When a page is displayed, new widgets go INTO that page — the indicator above the canvas ("New widgets → pages · page 1") shows the destination and lets you switch to Whole screen (always visible).Tune it in Properties
The Content section is what the widget shows (its text, its variable, its actions); Style is how it looks; Layout is where it sits.

⚠️ Watch out
The
HUD on toggle (top-left) must be enabled or none of your widgets exist in-game. The editor shows a banner while it is off.Selecting, moving, aligning
- Click selects. Clicking inside a group selects the group first — double-click drills into it. Locked groups always select as a whole.
- Drag moves. Green guides appear when your edges or centers align with another widget — they snap. With the grid visible, edges also snap to the 50-unit gridlines. Hold Alt to disable all snapping, Shift to constrain to one axis.
- Arrow keys nudge by exactly 1 unit — never snapped.
- Marquee: drag on empty canvas to select several widgets; then move or resize them together, or group them.
- ⌘G groups the selection into a container, ⌘⇧G ungroups.
The Layers panel
The Layers tab (left pane) lists every widget in stacking order. Click to select, drag to reorder, and drop a row onto a group to move the widget inside it. Each row has an eye (hide in the editor while you work) and a lock (click-through — selections go to the parent).

Canvas toolbar

- Zoom — slider, presets,
Fit(whole frame),Selection(zoom on what you selected). Pan with Space + drag or ⌘ + drag. - Preview — hides every editor overlay to see the HUD as a player would.
- 16:9 / 20:9 / 21:9 — device-frame preview: see your layout at a phone's or ultrawide's real width (read-only).
- Grid — the 50-unit dot grid; also enables snap-to-grid while dragging.
- Safe area — the title-safe 5% band. Keep YOUR widgets inside it: Verse UI ignores platform safe zones (notches, TV overscan).
- Screenshot — underlay a capture of your island in-game and build on top of it: the only HUD reference that stays current across Fortnite seasons. The editor detects the capture's aspect ratio and offers the matching frame.
- Fortnite UI — generic reference zones for the native HUD, for when you don't have a screenshot at hand.
Keyboard cheat sheet
- ⌘G group · ⌘⇧G ungroup
- ⌘Z undo · ⌘⇧Z redo
- Arrows nudge 1 unit · Shift+arrows nudge 10
- Alt while dragging: no snapping · Shift: lock axis
- Backspace delete selection (children included for groups)
See also